I tested this pattern before I decided whether or not to make Molly and her cousin Riley matching Christmas dresses with it. All in all, I'm very pleased with the look of the dress (even though I made it using old fabric I had lying around, haha). If I plan to use this one, I'll probably dye it and then actually add buttons. This dress also gave me an excuse to practice the automatic buttons holes. I loved i so much that I went a little overboard on button holes, haha.
The pattern was pretty decent for a commercial pattern! I chose dress A and traded the sleeves for the long sleeves and opted to leave the neck ruffle off (I simply finished the neck with bias tape). It all went together pretty well so my only complaint is that the instructions were very limited. I often sat at the machine and stared at the picture and then the words before figuring out what was supposed to happen. But once I got through some of the more confusing parts of the instructions, I was able to fly through the rest.
On a side note, during this project, I'm finally getting closer to mastering gathering!! I'm terrible at gathering (I guess everyone has their "thing").
Anyway, I'm still undecided about whether to use this pattern to make Christmas dresses or if I should use one of the Oliver + S patterns that I have wanting an excuse to buy anyway!
Wednesday, November 28, 2012
Monday, November 26, 2012
Pumpkin and Bean Crockpot Chili!
I think one of the best things about fall is chili! So the other night, I decided I needed to make some! A little late in the fall, I know. Time fly when you have a new baby! It was November before I even knew what happened. Anyway, I didn't have any meat on hand so it is a vegetarian dish (if you use veggie broth, of course).
Without further ado, here is the recipe:
Pumpkin and Bean Crockpot Chili
Ingredients
Broth (it doesn't matter, whatever you want to use or have on hand)
1 Cup of Water
1 Cup Lintels
1 Cup of Red Beans
2 Cups of Pumpkin Puree
1 Cup Chopped Onions
2 Tablespoons Honey
1 Tablespoon Molasses
1 Tablespoon Cocoa Powder (not sweetened)
1 teaspoon Chili Powder
1 teaspoon Paprika
1 teaspoon Cumin
1 teaspoon Oregano
Cayenne Pepper to taste
Throw it in a crock pot and let it cook. If you are going to be around, I cooked it on high for about 2 hours, one hour with the lide off so it would thicken. If you aren't, put it on as low as possible and let it go!! I love crockpot recipes!
Enjoy!
Sunday, November 25, 2012
Car Seat Strap Pads
To break in the new sewing machine, I decided to make some strap pads to go on M's car seat. I figured it would be a good simple, straight forward project to get used to my new machine.
It was a really straight forward project. All you need is some scrap fabric and 6 inches of velcro (6 of each hook and loop).
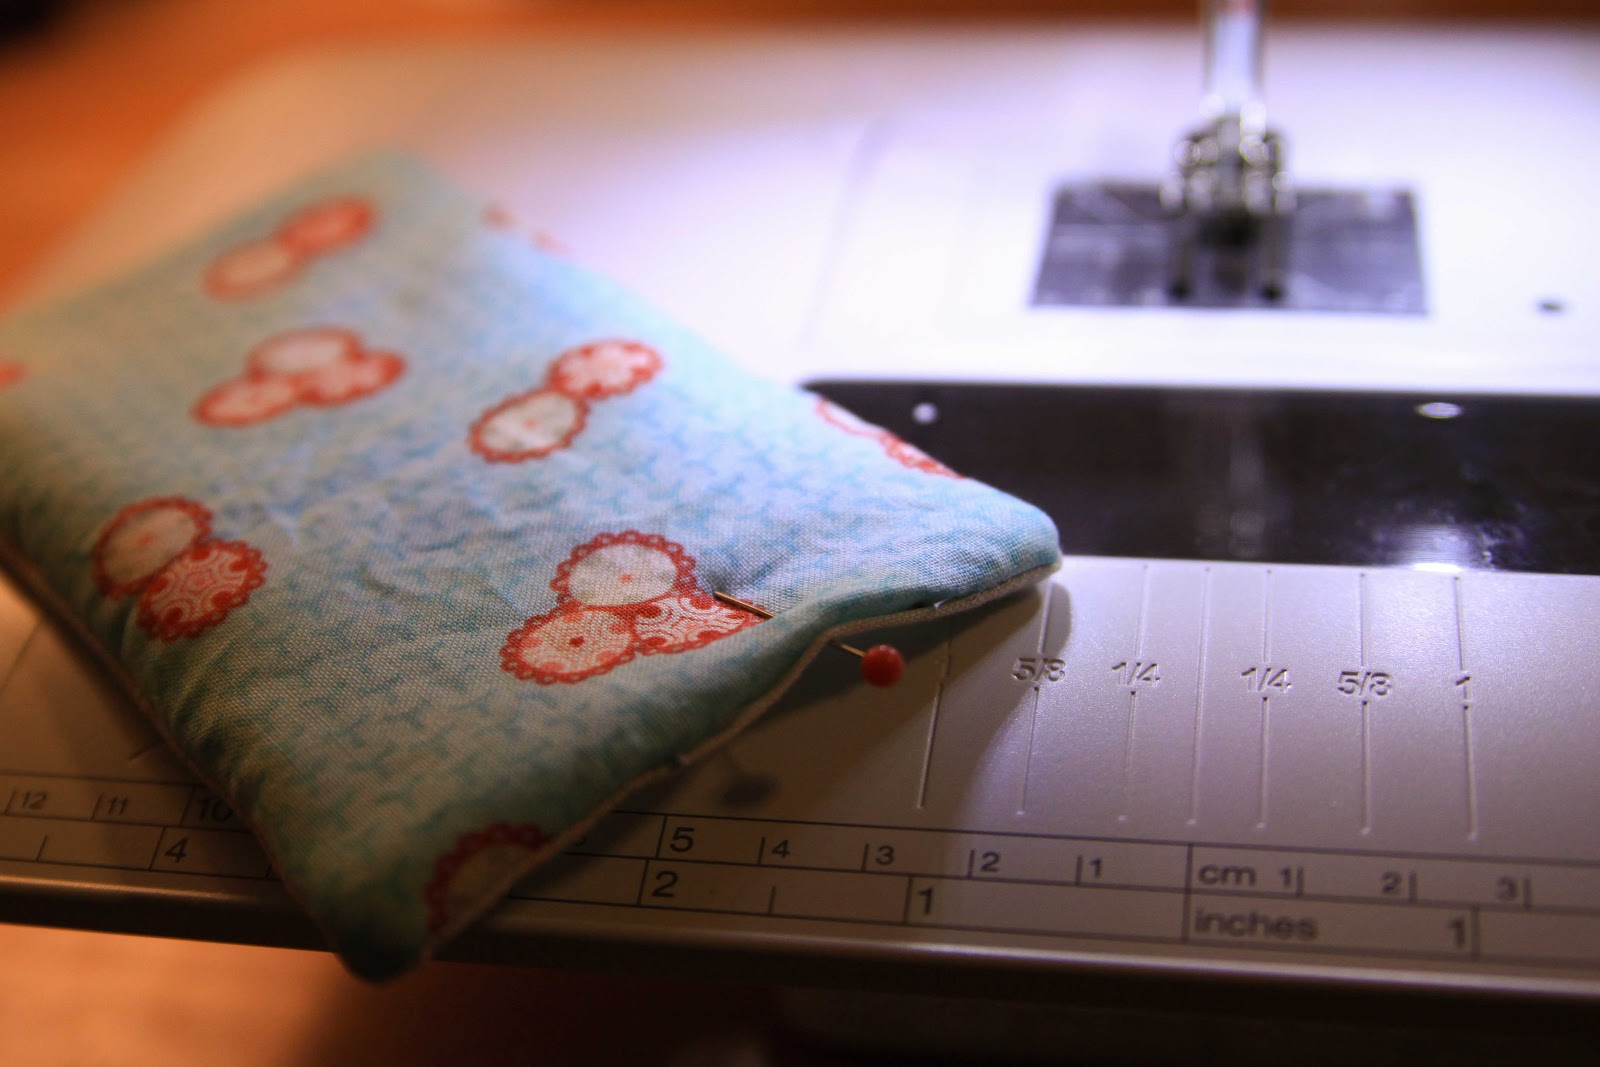
To start out with, I cut two 6 1/2" x 4" rectangles out of two different fabrics (one for the front, one for the back) and batting. Then I layered and pinned with the front and back fabric right sides together and the batting on top as shown:
After that, I sewed with a 1/4" seam and left and opening to turn it right-side out. I totally forgot to leave the opening on the first pad. Then I had to use the seam ripper to cut it open so I could get it right-side out. Oops!!!
After you turn it right-side out, pin the opening shut and hem around the edges.
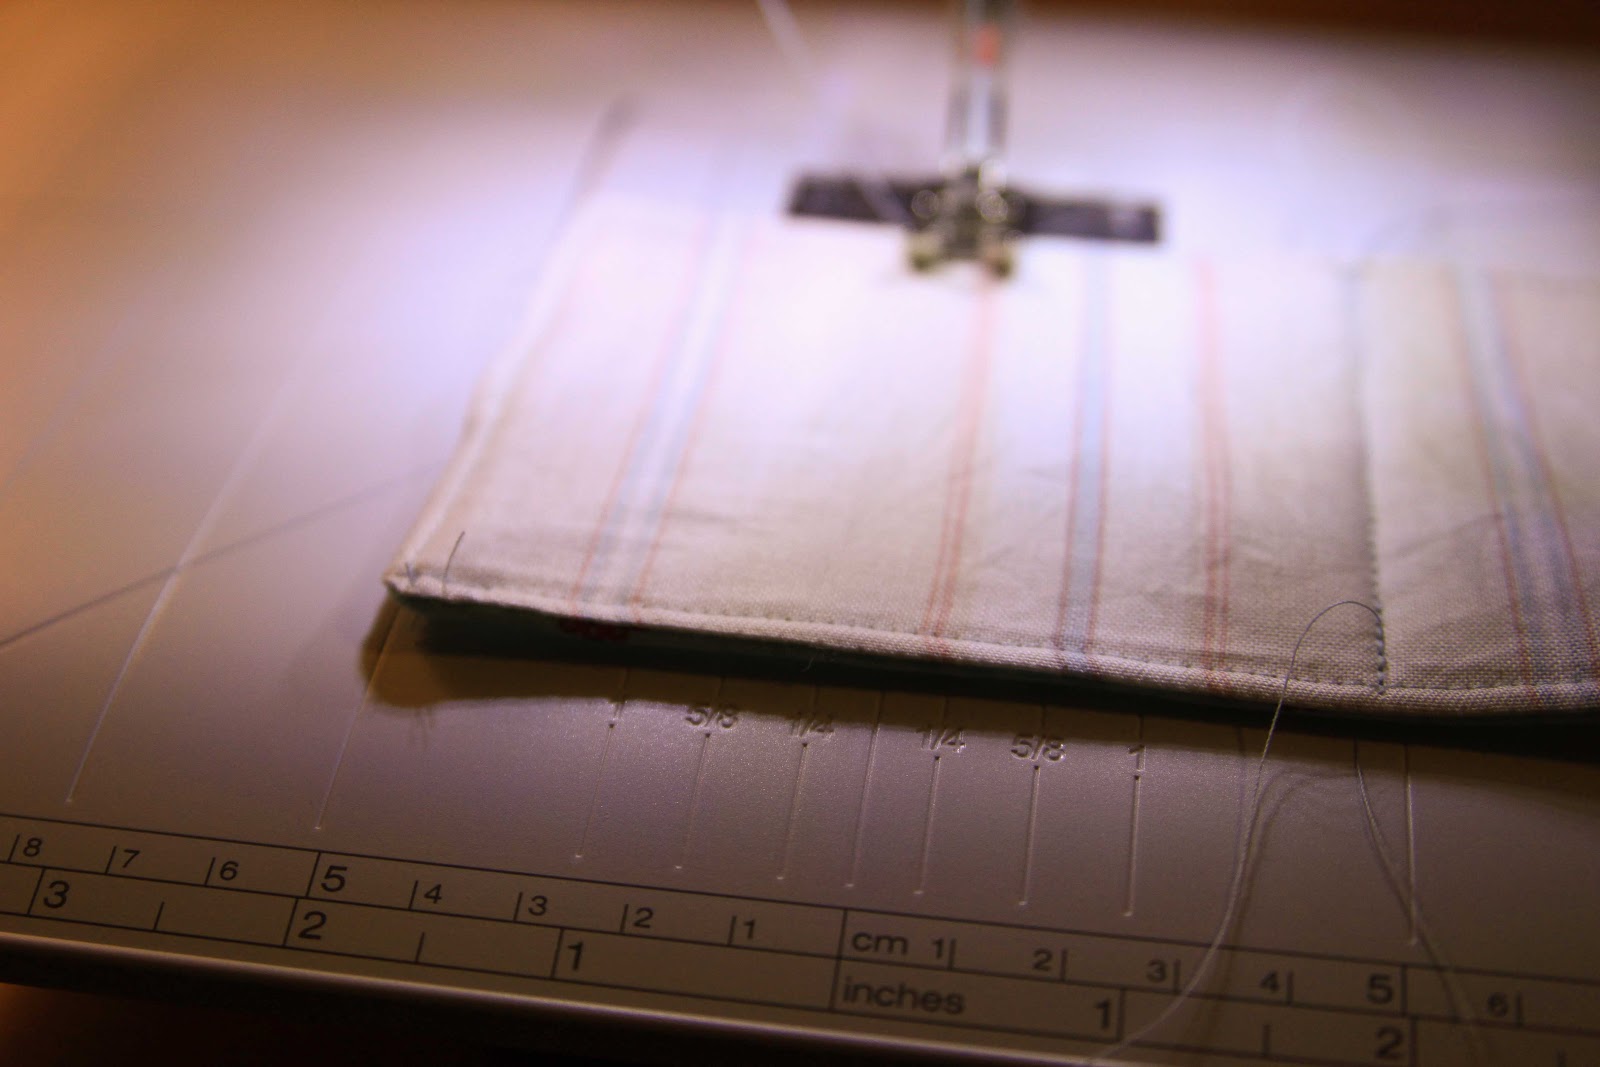
Now, stitch a straight line 2" from the edge on each side of the strap pad as shown below.
Put that part aside and grab your velcro. Cut four 1 1/2" pieces of both hook and loop (you should have eight total).
I put them at the top and bottom of my strap pads. Start with loops I lined the inside edge up with the measurements 1" on the top and 2 1/2" on the bottom as shown:
Sew around the edges of the velcro. Flip the pad over and put 2 hooks on the opposite side. Sew around the edges.
After that, clip your threads and put them on the car seat!
Easy peazy! And they look so cute too!!! We may need some to match pretty much every outfit...
Saturday, November 24, 2012
New Sewing Machine!!!!!!
Ever since my little girl was born (4ish months ago), I've gotten back into sewing. I love making little dresses for my little sweet heart!! So, for Christmas, I asked for one thing: a new sewing machine. My old one was ok. It could sew a semi-straight line, haha.
Today, however, my husband and I went to the store and I tested many and finally picked a way more expensive machine than I had planned on upon entering the store! My wonderful husband and I talked it over, and I GOT IT!!!!!!!!!!!!!!!!!! (Wonderful, amazing, perfect, there aren't enough words to discrib him right now!)
So, I'm supposed to wait until Christmas to use it, but I couldn't resist. It's set up in my sewing area and I have been playing around with some of the functions. I'm totally in love!!!!!
I know I'm just getting an empty box wrapped under the tree, but I'm ok with that. I literally couldn't be happier. I think Ed is even a little excited about the new machine. He sat behind it and looked at it and asked me all kinds of questions once I set it up.
Can't wait to post some projects!!!
Wednesday, November 14, 2012
4 Month Jumper
Each month, we take a picture of our little one. I whipped up a little jumper for the occasion!!
This is the first outfit that I've ever done where I made up the pattern. I saw a similar style jumper at Gymboree and decided to try to make one of my own!! It's even fully lined! I'm loving it!
This is the first outfit that I've ever done where I made up the pattern. I saw a similar style jumper at Gymboree and decided to try to make one of my own!! It's even fully lined! I'm loving it!
Subscribe to:
Comments (Atom)


